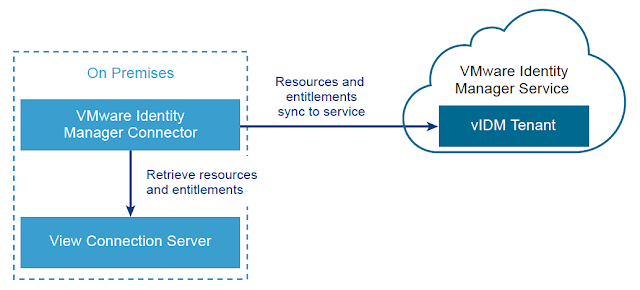
Once a vIDM Connector is successfully deployed on premise and integrated with a customers Active Directory environment, integrating with Horizon is relatively straight forward. For guidance on getting the vIDM connector deployed and integrated with AD, check out this previous post, Integrating A SaaS Instance Of VMware Identity Manager With On Premise Active Directory.
Preparing The Horizon Connection Server
Prior to syncing the vIDM connector with the Horizon environment, the Horizon Connection server must have SAML authentication enabled and SAML authenticators created. Within the Horizon Administrator, navigate to View Configuration --> Server --> Connection Servers. Select the Connection server you want to integrate vIDM with and select edit.
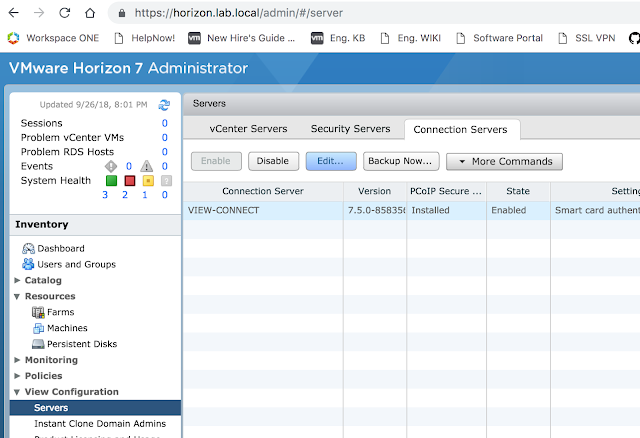
Then select the Authentication tab.
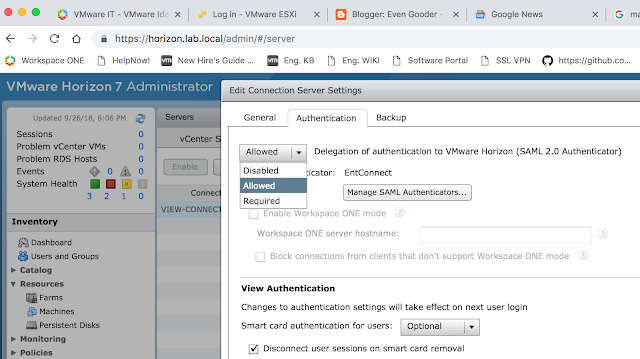
Select Allowed or Required for the, "Delegation of authentication to VMware Horizon (SAML 2.0 Authenticator)." Then click on, "Manage SAML Authenticators."
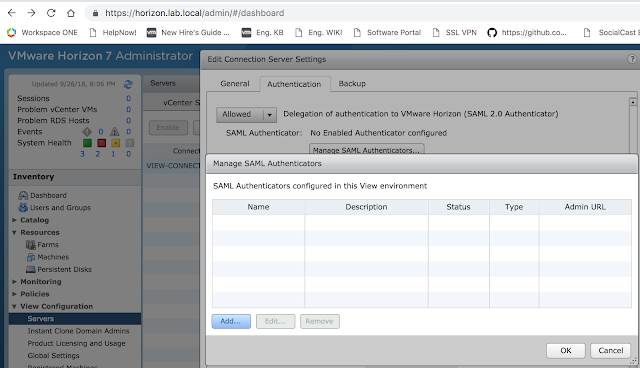
From there, click the Add button to create a new SAML authenticator.
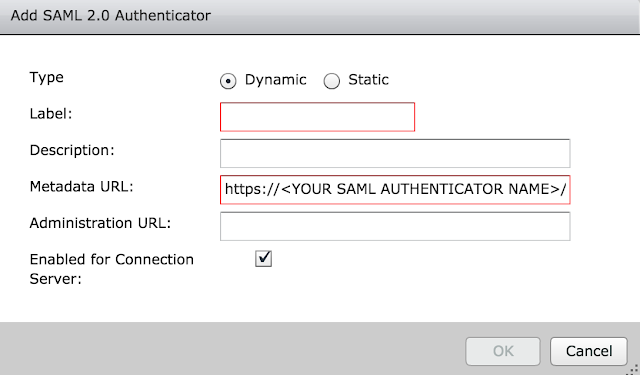
The metadata URL is already pre-populated for you. You need to enter in the vIDM instance URL where it has <YOUR SAML AUTHENTICATOR NAME>. My vIDM instance is https://justinjohnson.vmwareidentity.com, so my entry looks like this:
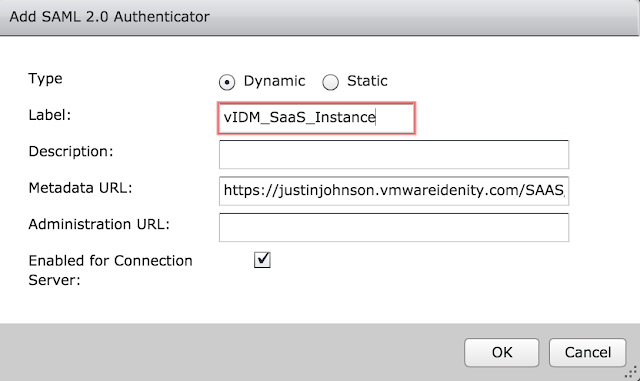
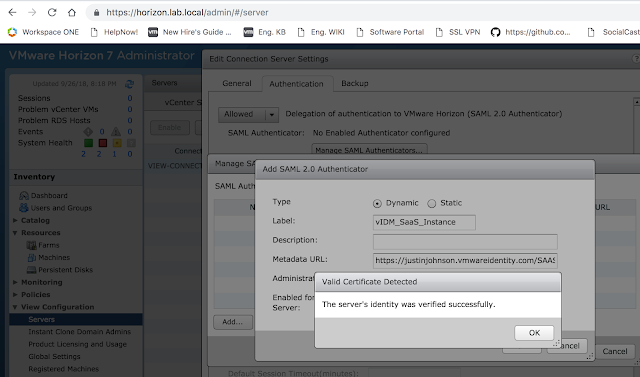
Click okay and then save. If all goes well, you'll get a message box indicating the vIDM server's identity has been verified.
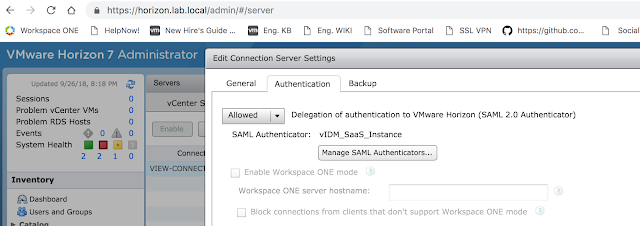
Okay your way out of the dialog boxes and confirm your new authenticator is selected, then click okay a final time.
The next step is to create a Virtual App Configuration in vIDM.
Creating A Virtual App Collection On vIDM
Now that the Horizon Connection server is ready, log into the Administrator console of vIDM. Click on Catalog --> Virtual Apps.
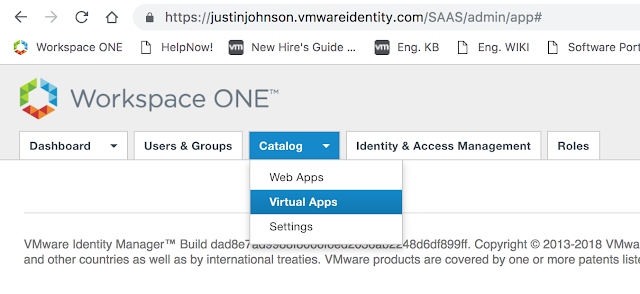
From there, click on Virtual App Configuration.
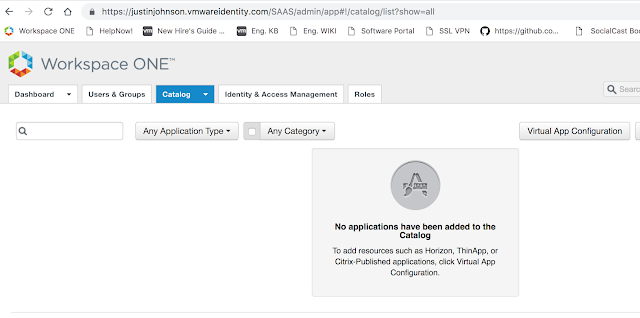
You'll see a button, "Add Virtual Apps." Click on it and select, "Horizon View On-Premises."
Next, add a name for this Virtual App Configuration. Select the recently created vIDM Connector as the Sync Connector. Also enter in the name of your Horizon Connection server and admin credentials for that environment.
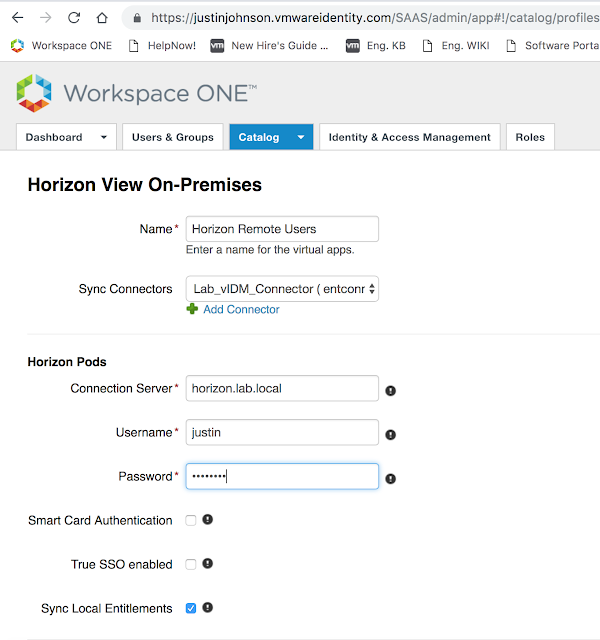
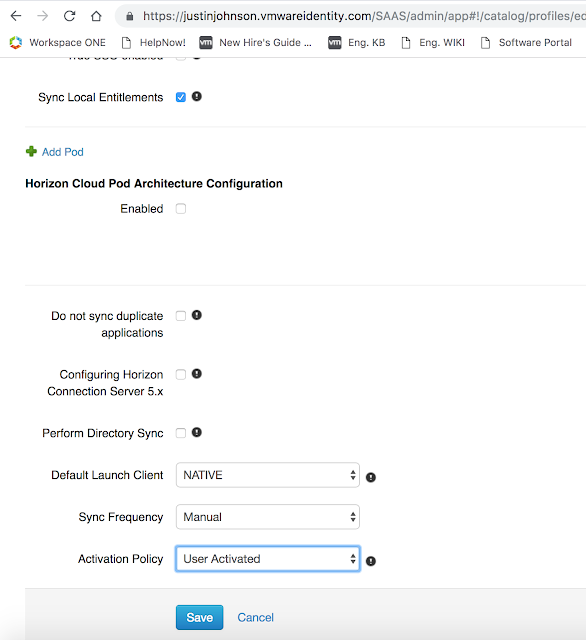
Enable any other policies you want enabled, then select select save.
Now, you'll see this new configuration show up under Virtual App Configuration.

Click on Sync.
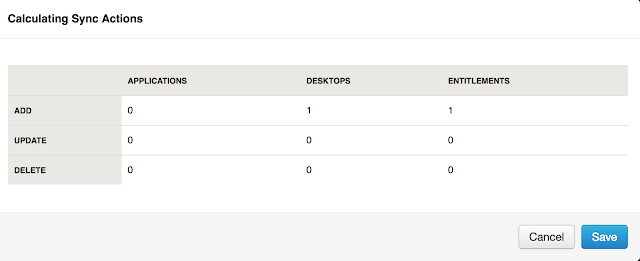
After performing a sync, return back to Catalog --> Virtual App. You should see see your Horizon entitlement(s).
Leveraging Different Horizon Client Access URLs For Different Network Ranges
A common desire for vIDM implementations is to redirect users from different network ranges to different Horizon Connection server URLs. For example, to have internal users hit internal connection servers directly as opposed to leveraging an external security server or UAG appliance. This is fairly easy to configure in vIDM. First, navigate to Catalog --> Virtual Apps --> Virtual App Settings. There, you'll see any network ranges that have been configured for vIDM under Manage --> Policies. Here's a screen shot from where you configure the networks:
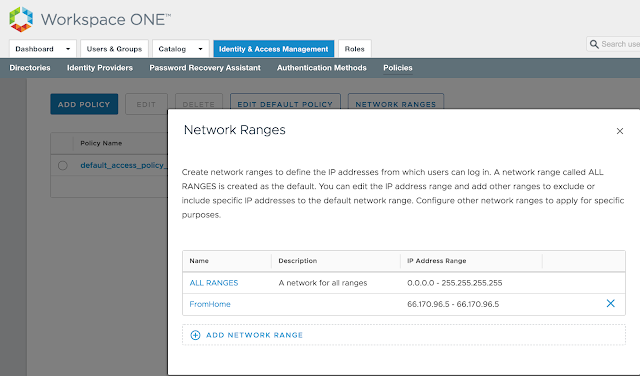
You'll see these very same network ranges under Virtual App Settings --> Network Settings.

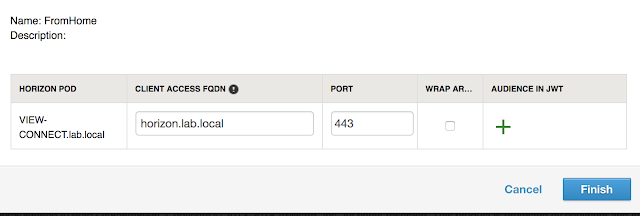
For my environment, uag.evengooder.com is the default client access URL. When clicking on the hyperlink for, "ALL RANGES," in my environment, you'll see the following:

So everyone who isn't making a request from a defined scope will default to uag.evengooder.com. However, folks who's requests are originating from my home lab, as defined by the, "FromHome," network range, are redirected to my internal Horizon Connection server, horizon.lab.local.
One thing to note is there's a bit of a limitation to this functionality when it comes to SaaS deployments of vIDM. The network range doesn't necessarily map out to ip addresses that are specifically assigned to endpoints. It's all about what IP address that endpoint request is working through to access vIDM. So if you have an endpoint that's connecting from an internal network through an NATted address, the source ip address for that endpoint is whatever that NAT address is, not the ip address that's directly assigned to the endpoint. So to accommodate my lab, I used the external IP address of my router for my network scope, not my internal IP address.
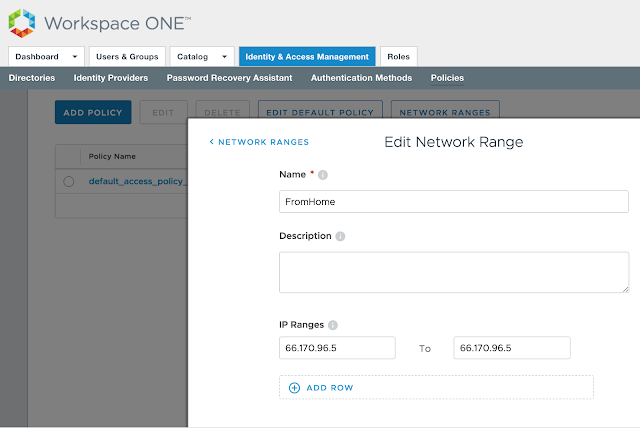
Just something to keep into consideration when defining network scopes. If you absolutely need to base conditional access off the directly assign IP address of your endpoints in an internal network, you'll need a vIDM instance that's setup within that trusted network.
With both AirWatch and vIDM successfully integrated with your on premise environment, the next step is to integrate the 2 separate SaaS instances directly with each other. How to achieve this is the topic of my next post, Integrating Cloud Instances Of Workspace One UEM (AirWatch) And VMware Identity Manager.


No comments:
Post a Comment